10 Best Software for Green Screen Editing

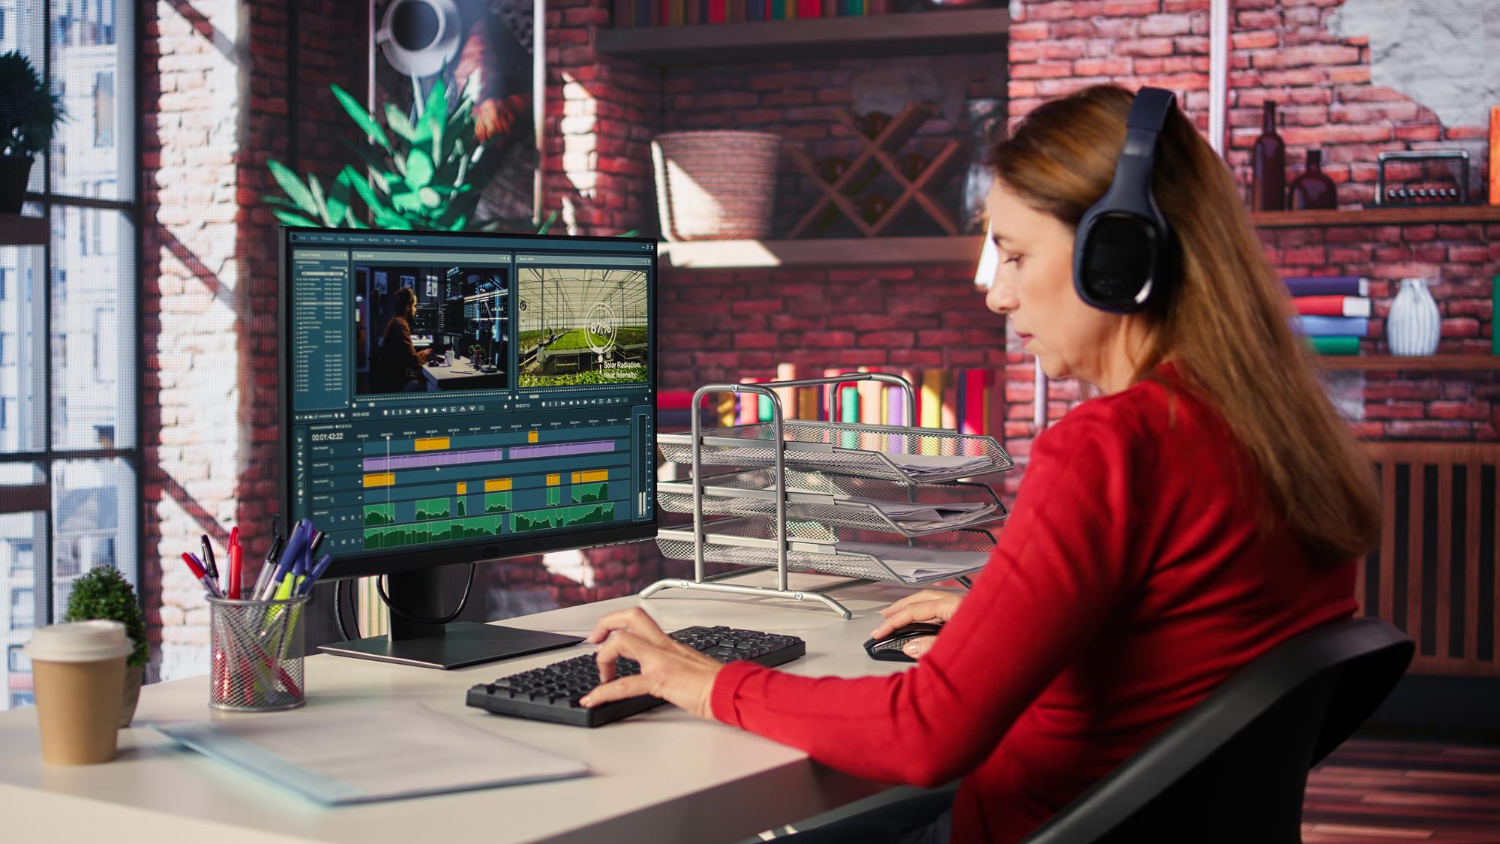
What green screen editing actually does
Green screen editing, also called chroma keying, replaces a solid-colored backdrop, usually green or sometimes blue, with any image or footage you want behind your subject. A weather presenter standing in front of a map, a YouTuber narrating over gameplay footage, a filmmaker dropping an actor into a location the budget never allowed for a location shoot: all of it runs on the same underlying trick. The software identifies the flat color, cuts it out, and fills the gap with whatever background you supply.
The appeal is obvious once you’ve tried it. You can put a subject anywhere, real or invented, without renting a location, building a set, or waiting for the right weather. A single small room with a green backdrop and decent lighting can produce footage that looks like it was shot in a dozen different places. That said, the software only does half the job. Clean keying depends just as much on even lighting, a wrinkle-free backdrop, and enough distance between the subject and the background to avoid green spill, as it does on which app you pick. Good software makes a mediocre setup look better; it can’t fully rescue a badly lit shoot.
How to pick the right tool for your workflow
The right choice depends on three things: how much editing you’re already doing beyond the keying itself, your budget, and your operating system. If you’re already cutting footage in a full editor, you want chroma key built into that same timeline rather than a separate app, since round-tripping footage between programs wastes time and can degrade quality. If keying is the only thing you need, a lightweight free tool avoids paying for features you’ll never touch.
Budget splits the field cleanly into three tiers: subscription-based professional suites, one-time-purchase professional tools, and free or open-source options that trade some polish for zero cost. None of the three tiers is universally “better.” A hobbyist making occasional YouTube videos gets more value from a capable free tool than from a subscription they’ll barely use, while a studio delivering client work daily usually earns back a subscription cost quickly through time saved and features that reduce manual cleanup.
Platform compatibility narrows the list further. macOS-only tools like Final Cut Pro and iMovie are off the table if you’re on Windows, and Linux users have a much shorter list of options overall, mostly open-source software like OpenShot and DaVinci Resolve. Check format support too; a tool that struggles with your camera’s native codec will cost you more time in conversion than it ever saves in editing speed.
10 Best Software for Green Screen Editing
1. Adobe Premiere Pro
Premiere Pro remains the standard reference point for professional video editing, and its Ultra Key effect is one of the more capable chroma key tools available in a mainstream editor. It gives fine control over matte generation, spill suppression, and edge softness, which matters when your green screen setup isn’t perfectly lit. Premiere also integrates directly with After Effects for shots that need heavier compositing work, and with the rest of the Adobe ecosystem for color grading and audio cleanup.
The tradeoff is a real learning curve and an ongoing subscription cost through Creative Cloud. For a solo creator doing occasional green screen work, that recurring cost is hard to justify. For anyone doing client video work regularly, the deep toolset and industry-standard file compatibility usually pay for themselves.
2. Final Cut Pro
Final Cut Pro is Apple’s professional editor, available only on macOS, and it pairs a genuinely fast magnetic timeline with keying tools that hold up well against Premiere’s. You get fine control over chroma key settings, edge detail, and color matching between the subject and the new background, plus real-time playback performance that keeps up even on demanding projects, including 360-degree footage.
Its biggest practical advantage over Premiere is the pricing model: a single one-time purchase instead of a monthly subscription. For editors already committed to the Apple ecosystem, that alone makes it worth serious consideration.
3. DaVinci Resolve
DaVinci Resolve is the rare tool that combines professional-grade editing, color correction, visual effects, and audio post-production in one application, and its free version is genuinely capable rather than a crippled trial. The Fusion module inside Resolve handles chroma keying with node-based compositing, which gives more granular control than a simple slider-based key effect, though it does take longer to learn than a one-click keying tool.
For anyone willing to invest the time to learn the node-based workflow, Resolve offers some of the best value in this list: professional color grading and visual effects tools that would otherwise cost hundreds of dollars, bundled with the editor itself, for free.
4. HitFilm Express
HitFilm Express blends conventional video editing with visual effects work in a single free application, which makes it a natural fit for creators who want more than a basic chroma key slider. It supports both color difference keying and standard chroma key, giving some flexibility depending on your footage quality and lighting.
The interface is friendlier than Resolve’s node-based Fusion tab, and the extensive library of official tutorials shortens the learning curve considerably. Some effects and export options sit behind paid add-ons, but the free core toolset covers most green screen editing needs on its own.
5. OBS Studio
OBS Studio isn’t an editor in the traditional sense; it’s built for live streaming and screen recording, and its chroma key filter applies green screen removal in real time as you broadcast, rather than in post-production. For streamers, this is exactly the use case that matters: a webcam feed keyed live over gameplay or a presentation, with no editing pass needed afterward.
It lacks the deeper editing and color-correction tools you’d find in Resolve or Premiere, because that’s simply not what it’s built for. Its open-source, cross-platform nature and a large, active community around it have made it close to the default choice for live-streamed chroma key work.
Also read: Best Software for Video Color Grading
6. iMovie
iMovie, bundled free with macOS and iOS, offers the simplest version of green screen editing on this list. Its built-in “Green/Blue Screen” effect handles the keying with minimal setup, which makes it a genuinely good starting point for students, casual creators, or anyone testing whether green screen work is worth investing more time and money into.
It won’t give you fine control over spill suppression or edge refinement, and professionals will outgrow it quickly. For a first project or a quick social clip, though, its simplicity is a feature, not a limitation.
7. Movavi Video Editor
Movavi targets the middle ground between iMovie’s simplicity and Premiere’s depth. Its chroma key tool is straightforward to use, and the surrounding editor includes filters, transitions, and titling tools that cover most needs for social content or small business video without requiring a steep learning investment.
It supports a wide range of formats and runs comfortably on modest hardware, which makes it a sensible pick for beginners and intermediate editors who want more capability than a free basic tool but aren’t ready for a professional subscription.
8. VSDC Free Video Editor
VSDC is a free, Windows-only non-linear editor with a surprisingly deep chroma key toolset for something with no price tag. You get adjustable parameters for color tolerance and edge smoothing, giving more control over a clean key than most free tools offer. It’s also lightweight enough to run smoothly on older or lower-spec machines, which matters if your hardware isn’t new.
The interface is less polished than paid competitors, and the learning curve is steeper than tools built around simplicity. For a Windows user on a tight budget who’s willing to spend a little time learning the layout, it’s one of the better free options available.
9. OpenShot
OpenShot is a free, open-source editor available on Windows, macOS, and Linux, which makes it one of the few cross-platform free options on this list. Its chroma key effect is straightforward, and the drag-and-drop interface with support for unlimited tracks keeps the learning curve gentle.
It doesn’t compete with Resolve or Premiere on advanced features, but for basic green screen work, especially on Linux where options are limited, OpenShot is a dependable choice.
10. Kapwing
Kapwing runs entirely in the browser, which means no installation and no dependence on your computer’s hardware for rendering. Its chroma key tool handles background removal directly in the browser interface, and the platform includes collaborative editing features that make it useful for teams working on social content together.
The free tier has real limitations on export quality and length, and premium plans unlock the rest. For quick social media clips or teams that need to collaborate on edits without installing software, it fills a niche the desktop tools on this list don’t.
Getting a cleaner key before you ever open the software
No chroma key tool fully compensates for a poorly shot green screen, so a few habits on set save far more editing time than any software feature. Light the backdrop evenly, since shadows and hot spots create uneven color that’s harder to key out cleanly. Keep your subject at least a few feet in front of the screen to avoid green light bouncing back onto their edges, an effect known as spill. Iron out wrinkles in fabric backdrops, since folds create shadow variations the software reads as a different color. And avoid green or overly reflective clothing on your subject unless you want parts of them keyed out along with the background.
None of these steps cost anything beyond a little setup time, and they typically matter more to the final result than which software you eventually choose to do the keying. A camera with poor low-light performance struggling to hold a green screen shot at a dim setting will fight you at every stage of the edit, no matter how capable the software is, so if your setup allows it, err on the side of brighter, more even lighting than feels necessary. Overexposing the backdrop slightly is far easier to fix in software than trying to key out a mottled, unevenly lit green.
Camera settings matter too. A wide aperture that throws the background out of focus can actually hurt your key, since a soft, blurred edge blends foreground and background colors together in a way that’s harder for chroma key software to separate cleanly. Stopping down slightly to keep the backdrop in reasonably sharp focus, then letting the software do the separation, usually produces a cleaner result than relying on shallow depth of field to hide a rough edge.
Free versus paid: what you actually give up
The gap between free and paid chroma key tools isn’t really about whether the key looks clean on well-lit footage; most of the tools on this list can produce a usable key under good conditions. The gap shows up on harder footage: uneven lighting, semi-transparent elements like hair or smoke, or reflective surfaces. Paid tools with more advanced spill suppression, edge refinement, and matte cleanup handle those harder cases with far less manual correction. Free tools can often get there too, just with more manual masking and patience.
For straightforward, well-lit setups, a free tool is genuinely enough. For client work, difficult footage, or a look that needs to hold up on a large screen, the paid tools’ deeper controls tend to save more time than their cost, once you factor in the hours saved on manual fixes.
Cost also isn’t purely about the software license. A subscription tool like Premiere Pro adds up over a year in a way a one-time purchase like Final Cut Pro or a free tool like Resolve never will, so factor in how long you expect to keep using the software, not just the monthly sticker price. A creator who edits video for a few months and then moves on to something else often ends up better off with a free tool than a subscription they forget to cancel.
Matching the tool to what you’re actually making
A live streamer keying their webcam over gameplay has almost nothing in common, technically, with a small production company shooting a client’s product demo against a green screen for later compositing. Both fall under “green screen editing,” but the right tool for one is often the wrong tool for the other.
For live streaming, real-time performance matters more than fine-grained control, which is exactly why OBS Studio dominates that use case despite lacking the deeper color tools found in Resolve or Premiere. There’s no post-production pass to clean things up; the key needs to look right the instant it’s broadcast, which pushes lighting quality and backdrop setup even further to the front of the priority list than it is for recorded footage.
For narrative filmmaking or heavier visual effects work, node-based tools like DaVinci Resolve’s Fusion page or a dedicated compositing app give you control that simple slider-based keying can’t match, particularly around tricky elements like hair, motion blur, or semi-transparent objects. That control comes at the cost of a real learning curve, which is worth it for a production that will be watched closely on a large screen but overkill for a weekly vlog.
For marketing and social content, speed usually beats precision. A small business recording a product explainer or a creator posting to social media benefits more from a fast, simple workflow like Movavi or Kapwing than from spending hours perfecting an edge in Resolve. The audience watching a 30-second social clip on a phone screen simply won’t notice the level of refinement that matters on a cinema screen.
For education and training content, where the priority is usually clear communication over visual polish, iMovie or OpenShot cover the need without asking a teacher or trainer to learn professional compositing software just to record a lesson.
Common questions about green screen software
Do I need a physical green screen, or can software key out any background? A solid, evenly lit, single-color backdrop makes keying dramatically easier and cleaner. Some modern tools offer AI-based background removal without a physical screen, but the results are generally less precise around hair, motion, and fine detail than a proper chroma key setup.
Do blue screens work as well as green ones? Yes, and blue is sometimes preferred for subjects wearing green clothing or with green-adjacent skin tones, since keying software struggles to separate a color from itself. Green is more common mainly because most cameras have stronger sensitivity to green light, which produces a cleaner initial key.
Is a free tool good enough for professional or client work? For straightforward setups with good lighting, yes. Tools like DaVinci Resolve’s free tier hold up against paid competitors for most projects. Where paid tools earn their cost is on difficult footage, tight deadlines, or work that needs to integrate into a larger existing paid-software pipeline.
Final thoughts
There’s a real tool on this list for every budget and skill level, from Adobe Premiere Pro’s industry-standard depth to Kapwing’s install-free browser editing. Match the choice to what you’re actually producing rather than defaulting to whichever name is most familiar. A weekly YouTube creator doesn’t need Resolve’s node-based compositing any more than a studio delivering broadcast-quality client work should settle for a browser tool’s export limits. Test two or three candidates on your own footage before committing, since the differences in how each one handles your specific lighting and backdrop matter more than any feature list.
Interesting reads: