10 Best Software for Cinematic Video Editing

What Cinematic Video Editing Actually Means
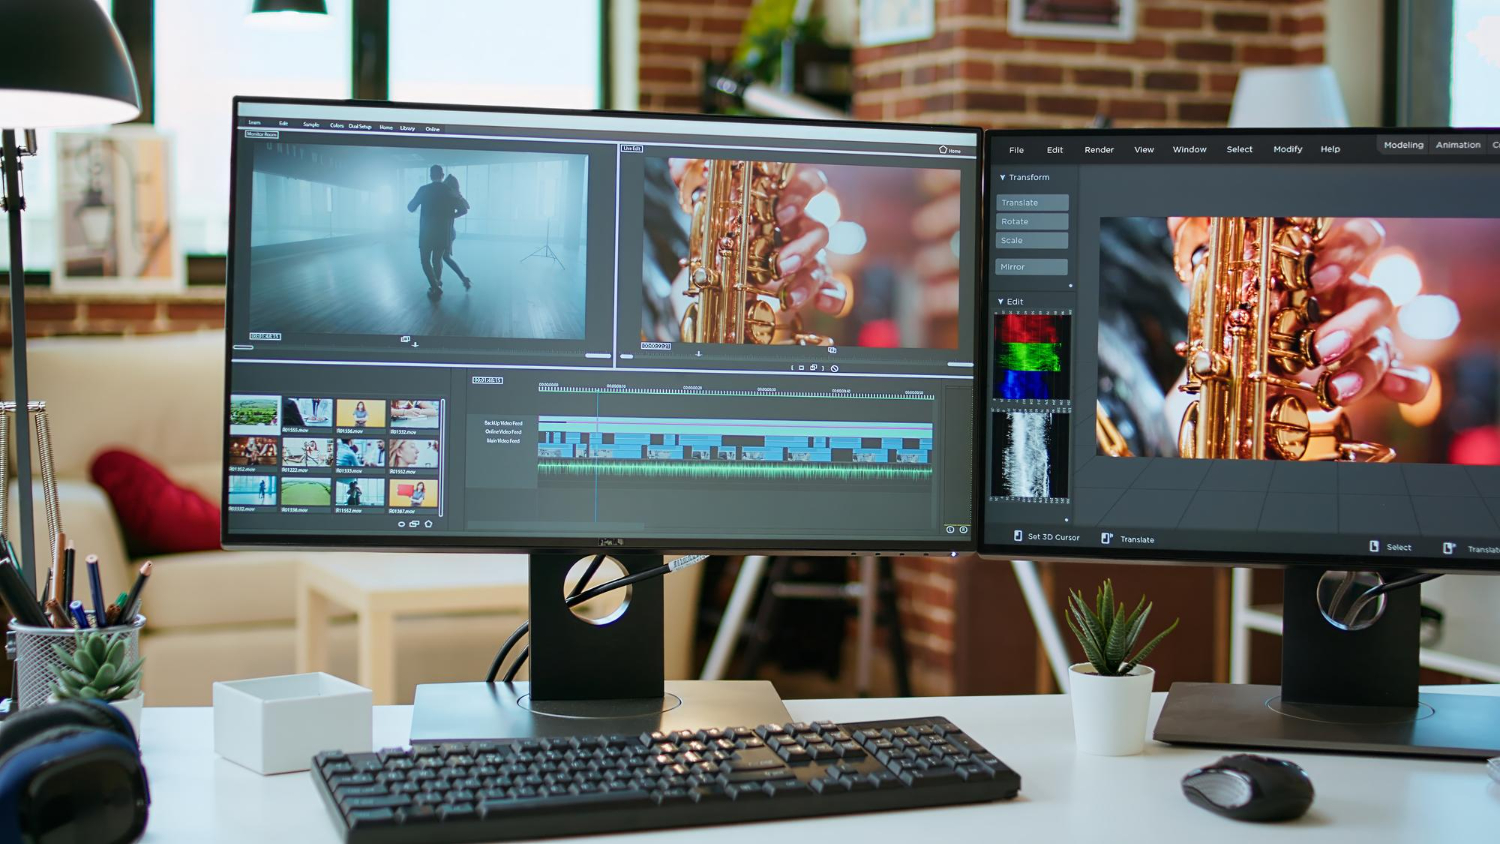
Cinematic video editing is the difference between footage that looks like it was shot on a phone and footage that looks like it belongs in a theater. It’s not one technique but a combination of them: pacing that gives scenes room to breathe, color grading that establishes mood before a single word of dialogue plays, sound design that fills silence with texture instead of dead air, and cuts placed with enough intention that the audience never notices them happening.
None of that requires a Hollywood budget anymore. The gap between what a feature film editor has access to and what a solo creator can run on a laptop has narrowed considerably over the past decade, mostly because the software below puts genuinely professional tools within reach of anyone willing to learn them.

How to Actually Choose Between These
Skill level matters more than most buying guides admit upfront. A beginner picking Avid Media Composer as a first editor is going to spend weeks fighting the interface before they cut a single usable scene, while a beginner-friendly tool like Filmora Pro gets someone producing decent results within a day. Budget matters too, and not just the sticker price – subscription software like Premiere Pro keeps billing every month whether you’re actively editing or not, while a one-time purchase like Final Cut Pro or Lightworks Pro is paid once and done.
Beyond that, check operating system compatibility before falling in love with a tool. Final Cut Pro is Mac-only, full stop, so anyone on Windows can cross it off the list regardless of how good the reviews are. High-resolution format support and available tutorials matter more than most people expect too – a powerful tool with no learning resources and a niche user community leaves you stuck the first time something breaks.
1. Adobe Premiere Pro
Premiere Pro remains the default choice for a reason: it does almost everything reasonably well and it integrates cleanly with the rest of the Adobe ecosystem, which matters a lot once After Effects or Photoshop assets need to move into a timeline. The color grading tools are genuinely professional-grade, multi-camera editing is well handled, and format support covers nearly anything a camera can output.
The learning curve is real, and the subscription cost adds up over years of use in a way a one-time purchase doesn’t. For anyone already working inside Adobe’s other tools, though, the workflow integration alone justifies the cost.
2. Final Cut Pro
Final Cut Pro’s magnetic timeline is the single biggest reason editors who switch to it rarely go back – it handles clip rearrangement in a way that avoids the accidental gaps and overlaps that plague timeline-based editors elsewhere. Real-time performance on Apple hardware is also genuinely fast, even on demanding 4K and HDR projects.
The catch is obvious: macOS only, no exceptions. For editors fully inside the Apple ecosystem, the one-time purchase price and tight hardware integration make it hard to beat.
3. DaVinci Resolve
DaVinci Resolve packs editing, color correction, visual effects through its Fusion module, and full audio post-production through Fairlight into one application, and the free version isn’t a stripped-down trial – it’s a genuinely capable tool that plenty of professionals use without ever upgrading. The color grading tools in particular are considered industry-leading, which is why so many colorists use Resolve even when the rest of a production pipeline runs on different software.
The Fusion tab’s node-based interface takes real time to learn if you’ve only used layer-based effects tools before, but the control it offers over visual effects is hard to match at this price point, free or otherwise.
4. Avid Media Composer
Avid Media Composer is the software broadcast television and big-budget film productions have relied on for decades, and it earns that trust through discipline rather than flash. There are no gimmicky one-click effects here – just reliable trimming tools, dependable multi-camera editing, and media management built to handle the chaos of a real production with dozens of collaborators touching the same project.
It’s rigid compared to newer software, and that rigidity is exactly the point on productions where consistency matters more than creative flexibility. Once the workflow clicks, it’s a tool built for people who edit professionally every day, not casually on weekends.
5. Sony Vegas Pro
Vegas Pro is built for speed without sacrificing depth. The drag-and-drop interface gets a project started fast, but underneath that simple surface sits real-time effects, compositing modes, and nested timelines capable of handling genuinely complex edits. Its audio tools stand out in particular – the sound sculpting capabilities built directly into the timeline rival what most editors need a separate audio application for.
It’s a strong fit for solo editors working on music videos, event recaps, and documentary-style storytelling who need to move fast without switching between multiple applications.
Also Read: Best Software for Slideshow Creation
6. Lightworks
Lightworks has genuine film industry pedigree – it was used to cut The King’s Speech and Pulp Fiction, among other notable films – and that history shows in how the software is engineered around frame-precise editing rather than flashy templates. It’s lightweight, cross-platform, and built for editors who think in terms of story structure first.
The free version supports multicam editing, professional trimming tools, and export presets tuned for YouTube and Vimeo, which covers most independent creators’ needs without spending anything. The paid upgrade unlocks full 4K support and a wider range of codec options for anyone delivering to broadcast or theatrical specs.
7. HitFilm Pro
HitFilm Pro combines conventional editing with visual effects work that would otherwise require separate plugins or a second application entirely – think of it as covering some of the ground that Premiere and After Effects split between two products. Built-in effects for explosions, energy beams, and other big-budget visual staples come standard rather than as paid add-ons.
For cinematic projects specifically, the color grading tools, particle simulation system, and camera tracking make it possible to build genuinely impressive visuals on a modest home setup, which is where HitFilm earns its reputation among indie filmmakers working with limited budgets.
8. Pinnacle Studio
Pinnacle Studio doesn’t get much attention in professional circles, which undersells what it actually offers beginner and mid-level editors. Motion tracking, dynamic split-screen templates, and solid keyframing tools push it well past entry-level software without demanding a steep learning investment to access them.
It’s particularly well suited to educational content, how-to videos, and business projects where the goal is a clean, professional look achieved quickly rather than an artistically ambitious cinematic sequence. Drag-and-drop titles, transitions, and effects make it approachable for someone editing their first real project.
9. Filmora Pro
Filmora Pro sits deliberately between beginner simplicity and professional depth, which makes it a natural next step for creators moving up from mobile editing apps or basic consumer software. The interface stays clean and modern without hiding the pro-level tools underneath it.
Its keyframe control is smoother than most software in this price range, giving motion graphics a more premium feel than the price tag suggests. Audio syncing, chroma keying, and LUT support round it out into a genuinely capable editor rather than a stepping-stone tool people outgrow quickly.
10. Adobe After Effects
After Effects isn’t a primary video editor in the traditional sense – it’s built for motion graphics and visual effects – but it plays a real role in cinematic work through complex animation, compositing, and visual polish that a straight editing timeline can’t achieve on its own. Title sequences, visual effects shots, and motion graphics overlays typically get built here before dropping into the main edit.
Used alongside Premiere Pro, it rounds out a complete cinematic post-production pipeline: Premiere handles the cut, After Effects handles the visual layers on top of it.

Free vs. Paid: What You Actually Give Up
DaVinci Resolve and Lightworks both offer free tiers substantial enough to finish real projects on, which raises a fair question: what does paying actually buy? Mostly it’s ceiling, not floor. The free version of Resolve handles most editing and color work a solo creator needs; the paid Studio version adds features that matter more once you’re delivering 4K/8K broadcast masters, need noise reduction tools for difficult footage, or want the full library of Fusion effects rather than a curated subset.
Lightworks follows a similar pattern – the free tier covers real work, and the paid version mainly unlocks higher resolution export and broader codec support for professional delivery requirements. For most independent creators and small teams, starting free and upgrading only once a specific limitation actually gets hit is the more sensible path than paying upfront for capability you might not need for months.
Plugins and Presets: When They Help and When They Don’t
LUTs, transition packs, and third-party plugins get marketed as shortcuts to a cinematic look, and sometimes they genuinely are. A well-made LUT applied to correctly exposed, properly white-balanced footage can save real time in the color grading process. Applied to footage that wasn’t shot with reasonable care, though, the same LUT tends to expose problems rather than fix them, crushing shadows or blowing out highlights that a manual grade would have handled more gracefully.
The honest rule of thumb: presets and plugins are a starting point to adjust from, not a finished result to accept as-is. Every tool on this list, from HitFilm’s built-in effects library to DaVinci Resolve’s Fusion presets, benefits from at least some manual tweaking to match the specific footage and story rather than applying a preset at full strength and calling it done.
Building an Actual Cinematic Look
Software alone doesn’t create a cinematic feel – a handful of consistent techniques do, and every tool on this list supports them in some form. Color grading is the biggest lever: a consistent color palette across a project, whether that’s teal-and-orange contrast or a desaturated, muted look, does more to establish mood than almost any other single decision. Pacing matters just as much. Cinematic editing tends to hold shots slightly longer than social media content typically does, giving the audience time to actually absorb a frame instead of cutting reflexively every two seconds.
Sound design closes the gap the rest of the way. Ambient background noise, subtle music cues that rise and fall with the emotional beats of a scene, and clean dialogue mixing all separate professional-feeling work from amateur footage, regardless of which editing software produced it. None of these techniques are software-dependent – they’re editing decisions that any tool on this list can execute once you know what you’re aiming for.
Hardware Considerations Nobody Mentions Upfront
Video editing software specs pages love to list minimum requirements, but “runs” and “runs well enough to actually finish a project without losing your patience” are different bars entirely. Color grading and effects-heavy work in particular leans hard on GPU performance, not just CPU speed and RAM, and DaVinci Resolve’s Fusion module specifically benefits from a dedicated graphics card far more than the base editing timeline does. A machine that handles basic cuts fine can choke badly once heavy color grading or particle effects enter the timeline.
Storage speed matters more than people expect too. Editing 4K footage directly off a slow external drive introduces stuttering playback that has nothing to do with the software itself, and it’s a common source of frustration that gets wrongly blamed on the editor rather than the drive. An internal SSD or a fast external drive connected over Thunderbolt or USB-C makes a bigger practical difference for smooth editing than most people budget for when they’re focused entirely on the software license cost.
Export Settings That Actually Preserve the Cinematic Look
All the color grading and pacing work in the world gets undermined by a bad export. Over-compressed exports flatten carefully graded color into banding and muddy shadows, especially on darker, moody grades that are common in cinematic work. Exporting at a high enough bitrate for the target platform, and matching frame rate to what was actually shot rather than defaulting to whatever the export preset suggests, preserves far more of the finished look than most beginners realize going in.
Every tool on this list includes export presets tuned for YouTube, Vimeo, and other common platforms, and those presets are a reasonable starting point. For anything delivering to a client or a broadcast spec, though, it’s worth confirming the exact codec, bitrate, and color space requirements before exporting rather than assuming a generic preset covers it.
Frequently Asked Questions
Do I need a powerful computer to run any of these?
DaVinci Resolve and Premiere Pro are the most demanding on hardware, particularly when working with 4K footage and heavy color grading. Lightworks and Filmora Pro run comfortably on more modest setups, which makes them reasonable starting points if your hardware is a few years old. Proxy editing, where the software creates lower-resolution stand-in files during the edit and swaps back to full resolution only for export, is available in most of these tools and worth turning on if playback stutters on high-res footage regardless of which editor you pick.
Which of these is best for a total beginner?
Filmora Pro and Pinnacle Studio both prioritize accessibility without feeling like toy software. DaVinci Resolve’s free tier is also worth learning early, since the skills transfer directly to professional environments that use the same tool.
Is a subscription model actually worse than a one-time purchase?
Not inherently – it depends on how long you’ll use the software. A subscription like Premiere Pro’s costs more over several years of steady use than a one-time purchase like Final Cut Pro or Lightworks Pro, but it also guarantees continuous updates rather than paying again for a major version upgrade later.
Can I mix software across a single project?
Yes, and professionals do this constantly. A common pipeline edits in Premiere Pro or DaVinci Resolve, sends specific shots to After Effects or Fusion for visual effects work, and brings the finished elements back into the main timeline for final assembly.
How long does it realistically take to learn one of these well?
Basic proficiency with a beginner-friendly tool like Filmora Pro or Pinnacle Studio comes within a few weeks of regular use. Genuine fluency with a professional tool like Premiere Pro, Avid, or DaVinci Resolve’s full color grading toolset takes considerably longer, often several months of consistent project work before the muscle memory and workflow speed of an experienced editor really kick in.
Does switching between two editors on the same project cause compatibility problems?
It can, particularly around color space and codec handling when moving footage between different software. Standardizing on a consistent project format and checking color space settings before importing between applications avoids most of the headaches that come up when a team uses more than one editing tool across a single production.
Elevate Your Storytelling With the Right Editing Software
Cinematic video editing blends technical skill with creative judgment, and the software you choose shapes how quickly you can turn that judgment into finished footage. Beginners get more mileage out of Filmora Pro or Pinnacle Studio’s gentler learning curves; professionals working on demanding productions lean toward Avid or Premiere Pro for their depth and reliability under deadline pressure; and anyone on a tight budget can build genuinely impressive work in DaVinci Resolve’s free tier without spending anything until the project outgrows it.
The software is only ever a means to an end. Strong color grading knowledge, disciplined pacing, and attention to sound design transfer across every tool on this list – invest time there first, and the specific application you’re using matters a lot less than it seems to at the start. Pairing solid editing fundamentals with a deliberate approach to color grading is usually what separates a technically competent edit from one that actually feels cinematic.
Interesting Reads:
Best Software for GIF Creation