10 Best AI Slow Motion for Motion Graphics

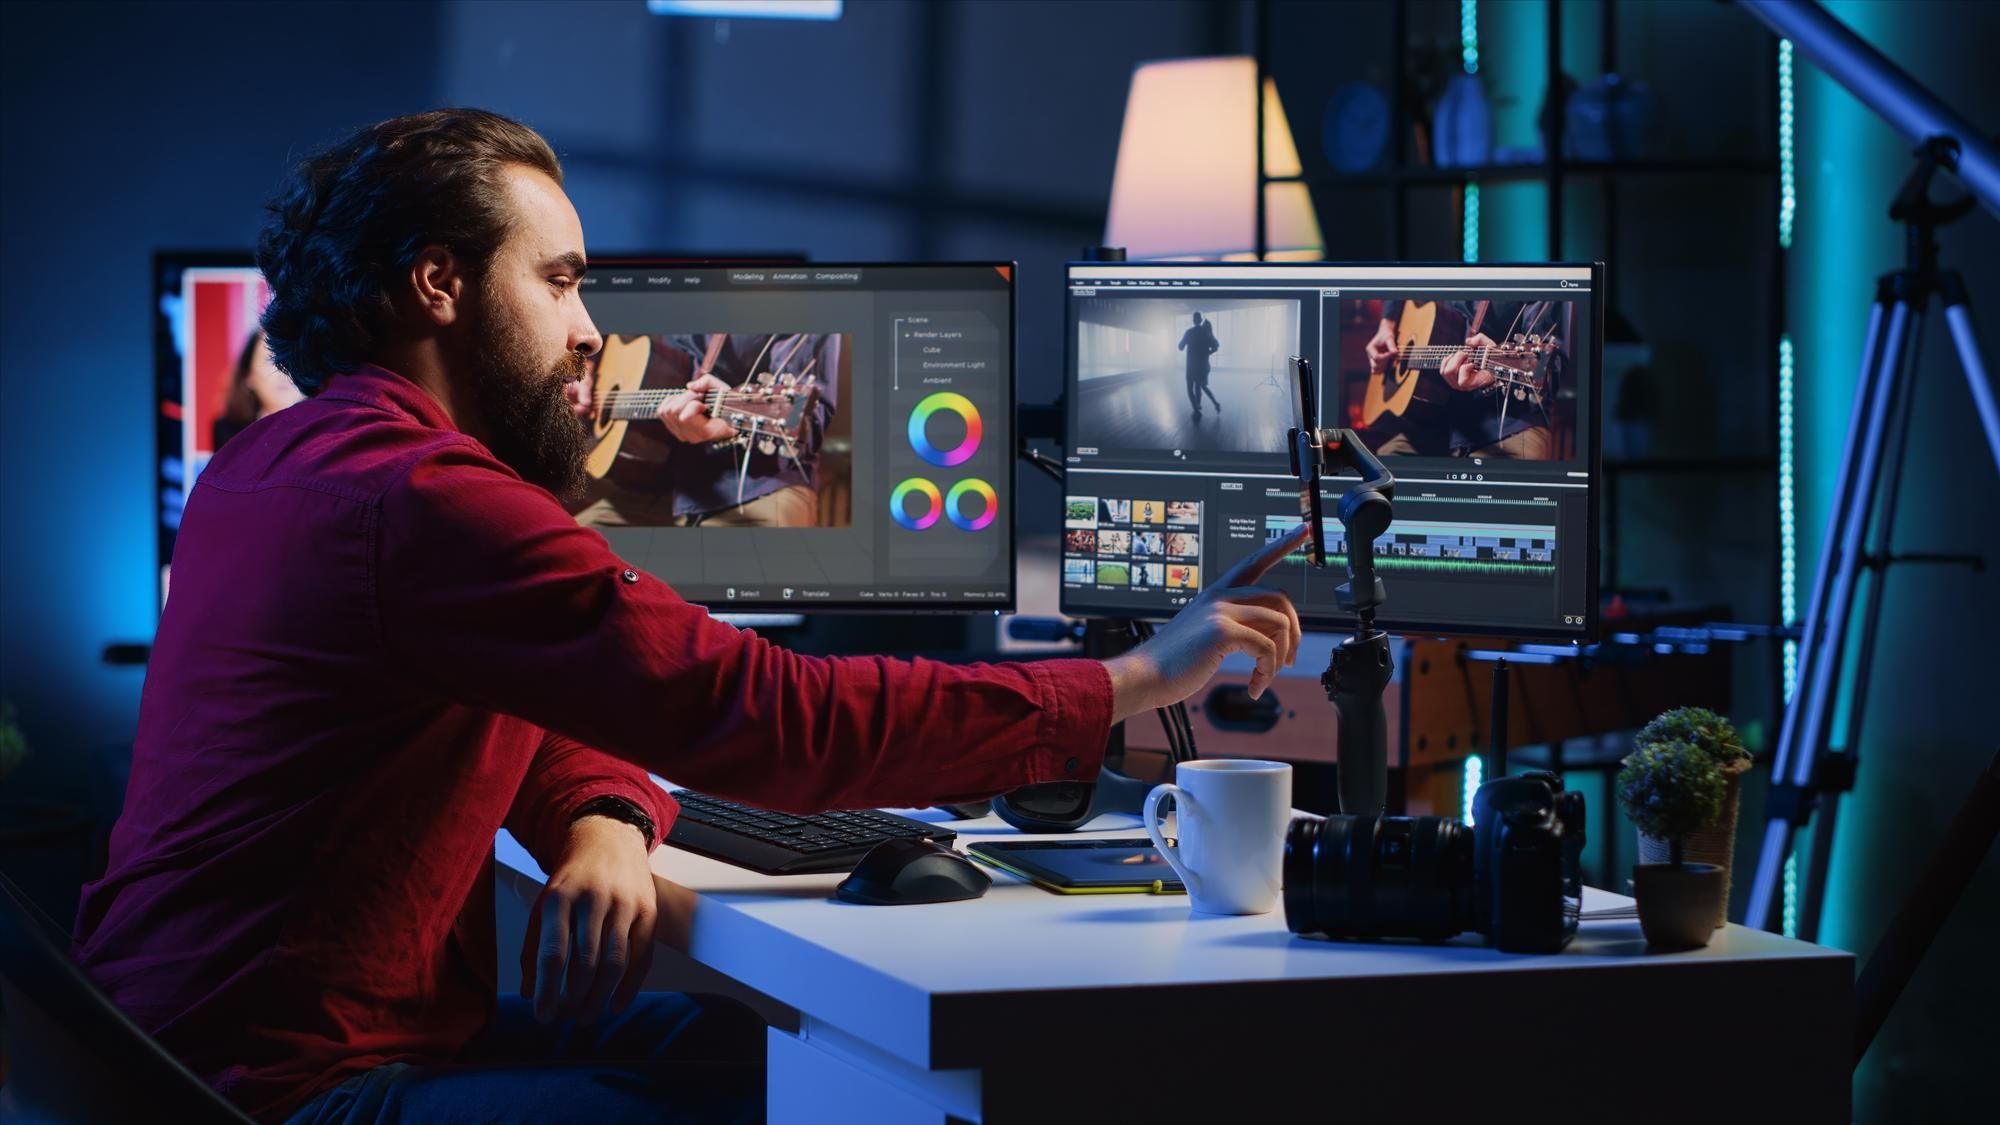
Slow motion is one of the cheapest ways to make ordinary footage look expensive. A hand releasing a coffee cup, a logo reveal, a product spinning under studio light – stretch any of it across a few extra seconds and it reads as deliberate, cinematic, considered. The catch used to be that real slow motion required either a high-speed camera on set or hours of manual frame-by-frame work in a compositing suite. Neither option is realistic for most motion graphics artists working on a deadline.
AI frame interpolation changed that math. Instead of shooting at 240 frames per second and hoping you captured the right moment, software can now analyze standard 24, 30, or 60fps footage, estimate the motion between existing frames, and synthesize new frames in between. The result is a slow-motion clip built from footage that was never shot for slow motion in the first place. It is not magic and it is not flawless – fast, chaotic motion or overlapping objects can still produce warping and ghosting – but for the kind of controlled shots motion graphics artists work with, the technology has matured enough to be a genuine production tool rather than a novelty.
This guide walks through ten tools that handle AI-assisted slow motion, what each one is actually good at, where it falls short, and what it costs right now. A few names that show up on older “best of” lists have quietly changed hands, dropped their standalone apps, or never really did AI slow motion in the first place – those get called out directly instead of copy-pasted forward.
What “AI Slow Motion” Actually Means for Motion Graphics
There are two different techniques hiding under the same marketing phrase, and knowing which one a tool uses changes how you should judge it.
Optical flow and motion estimation looks at the pixels moving between two real frames, calculates a vector field describing that motion, and blends new pixels along that path. This is what Adobe’s Pixel Motion, Apple’s Optical Flow, and RE:Vision Effects’ proprietary engine in Twixtor all do at their core. It is fast, well understood, and generally reliable on footage with clean, single-direction motion.
Machine-learning frame synthesis goes a step further and uses a trained neural network to predict what an in-between frame should look like, rather than purely interpolating pixels along a vector. Topaz Video AI’s newer models and DaVinci Resolve’s Speed Warp both lean on this approach. It tends to handle complex or overlapping motion better, at the cost of needing more processing power and, in some cases, a subscription to access the trained models.
Neither approach invents information that was not there. Both are estimating. The quality difference you see between a $15/month mobile app and a $295 professional suite usually comes down to how good that estimation model is on difficult footage – water, smoke, fast pans, or anything with fine detail moving quickly across the frame.
Key Features Worth Comparing Before You Buy
- Frame interpolation quality: how clean the generated in-between frames look on motion that is not perfectly linear.
- Host integration: whether the tool runs inside After Effects, Premiere Pro, DaVinci Resolve, or Final Cut Pro, or requires exporting to a standalone app and re-importing.
- Maximum useful retiming factor: how far past 2x-4x slower you can push footage before artifacts become obvious.
- Resolution and format support: full 4K support without downsampling, and support for the codecs you actually shoot in.
- Licensing model: one-time purchase versus subscription, since AI-model-based tools increasingly lean subscription-only.
1. Twixtor Pro – Best Plugin-Based Option for Professional Compositing
Twixtor, made by RE:Vision Effects, has been the industry-standard retiming plugin for close to two decades, and it remains actively developed – the current release is Twixtor 8, which added machine-learning-assisted motion estimation on top of the original optical flow engine. It installs as a plugin inside After Effects, Premiere Pro, DaVinci Resolve, Nuke, Final Cut Pro, Avid Media Composer, and roughly a dozen other host applications, and RE:Vision also sells a standalone Twixtor App version bundled with the Pro tier for people who do not want to open a full NLE just to retime a clip.
Key features
- Proprietary motion-estimation engine refined across multiple major versions.
- Works inside more host applications than any competing retiming plugin.
- Standalone Twixtor App included with the Pro license.
Pros
- Deep, direct integration with After Effects and Premiere Pro timelines.
- Handles moderate-to-extreme retiming well – RE:Vision’s own demonstration reels show footage shot at 120fps retimed up to roughly 160x slower than real time.
- Two decades of refinement means predictable, well-documented behavior.
Cons
- Plugin pricing is per-host-application, which adds up if you switch between After Effects and Premiere Pro regularly.
- Best results still need a reasonably powerful GPU, especially at 4K.
Why it stands out: nothing else on this list has the same breadth of host-application support, which matters if your studio’s pipeline moves footage between two or three different editors before it ships.
2. Adobe After Effects with Pixel Motion – Best for Teams Already on Creative Cloud
After Effects does not need a third-party plugin to do reasonable AI-assisted retiming. Its built-in Frame Blending mode includes a Pixel Motion option that analyzes optical flow between frames and generates intermediate frames automatically when you stretch a layer’s time remapping. It is not as precise as Twixtor on difficult footage, but for straightforward product shots, UI animations, and logo reveals, it is often good enough on its own.
Key features
- Pixel Motion frame blending built directly into time remapping, no plugin required.
- Full access to After Effects’ broader motion graphics toolset for combining retimed footage with type, shape layers, and effects.
- Round-trips cleanly with Premiere Pro through Dynamic Link.
Pros
- Already included if your studio has a Creative Cloud subscription – no extra purchase.
- Tight integration with the rest of a motion graphics workflow.
Cons
- Requires an active Creative Cloud subscription; there is no perpetual-license version anymore.
- Pixel Motion can produce visible warping on fast or overlapping motion where a dedicated retiming engine like Twixtor holds up better.
Why it stands out: if your team already pays for Creative Cloud, this is the zero-additional-cost starting point before reaching for a plugin.
3. Final Cut Pro with Optical Flow – Best for Mac-Based Editors
Final Cut Pro’s Optical Flow retiming has been part of Apple’s editor for years and remains the most accessible AI-assisted slow motion option for anyone already cutting on a Mac. It applies motion analysis automatically when you set a clip’s speed below 100% and choose Optical Flow instead of the frame-blending fallback.
Key features
- One-click Optical Flow retiming built into the standard speed controls.
- GPU-accelerated rendering that takes advantage of Apple Silicon.
- Real-time-ish preview on newer Mac hardware.
Pros
- One-time purchase rather than a subscription.
- Genuinely fast on M-series Macs compared to older Intel-based rendering.
Cons
- Mac-only, which rules it out for mixed-platform studios.
- Optical Flow alone tends to lag behind dedicated ML-based tools on complex motion.
Why it stands out: it is the only tool on this list with a straightforward one-time purchase price and no recurring subscription attached.
4. Topaz Video AI – Best for Difficult or Low-Quality Source Footage
Topaz Video AI (the current name for what was previously marketed as Topaz Video Enhance AI) uses a library of more than 20 trained AI models covering interpolation, upscaling, denoising, and stabilization. Its Chronos and Apollo interpolation models are built specifically to generate smooth slow motion from standard frame-rate footage, and the software runs standalone on Windows and Mac, with panel integrations for Premiere Pro and an external-tool link into DaVinci Resolve.
Key features
- Multiple interpolation models tuned for different footage types – motion-heavy, low-light, or already-compressed source.
- Frame interpolation up to 60fps or 120fps depending on the model selected.
- Combines slow motion with AI upscaling and denoising in the same pass, useful when your source footage is not pristine to begin with.
Pros
- Genuinely strong on messy or lower-resolution source footage where pure optical-flow tools start to fall apart.
- Actively maintained with regular model updates.
Cons
- Subscription-only now – plans run from roughly $299/year for the Personal tier up to around $699/year for Pro, with no perpetual license option left.
- Processing is slow on anything without a capable GPU.
Why it stands out: this is the tool to reach for when the footage itself is the problem – underlit, slightly soft, or shot on a phone – rather than footage that just needs to be slowed down.
Also read: 10 Best Software for Cinematic Video Editing
5. DaVinci Resolve Studio with Speed Warp – Best Color-and-Retime Combo
DaVinci Resolve’s free version is genuinely capable, but its AI retiming feature, Speed Warp, is part of the DaVinci Neural Engine and only ships in the paid DaVinci Resolve Studio tier, which costs $295 as a one-time license rather than a subscription. Speed Warp uses machine learning to generate new frames for extreme slow motion, and because it lives inside Resolve, you get professional color grading in the same timeline without round-tripping to another app.
Key features
- Speed Warp AI retiming, distinct from the standard Optical Flow option also available in Resolve.
- Full color grading, Fusion compositing, and Fairlight audio tools in the same application.
- One-time $295 license for Studio; the free version caps out at 60fps and lacks the Neural Engine features.
Pros
- No subscription – pay once for Studio and keep the version you bought.
- Doing color and retiming in one timeline avoids the quality loss and time cost of exporting between apps.
Cons
- Speed Warp specifically requires the $295 Studio upgrade – the free version does not include it.
- Steeper learning curve than a dedicated retiming plugin if color grading is not already part of your workflow.
Why it stands out: it is the only option here that pairs AI retiming with a full-featured color pipeline, which matters for motion graphics work that also needs grading.
6. Filmora – Best for Beginners and Fast Turnaround Social Content
Wondershare’s Filmora targets creators who need speed over precision. Its speed ramping and motion-blur tools are built around presets rather than manual keyframe adjustment, which makes it fast to learn but less flexible than a dedicated compositing tool. It is a subscription product now, sold through Wondershare’s own store with monthly and annual plans plus a limited free trial.
Key features
- Preset speed ramping with motion blur applied automatically to smooth the transition.
- Supports HD and 4K timelines.
- Simple, timeline-based interface aimed at creators rather than compositors.
Pros
- Fast to learn – useful when you need a slow-motion social clip turned around in an hour, not a day.
- Regularly updated with new AI-assisted editing tools beyond just retiming.
Cons
- Less precise control than Twixtor or Resolve’s Speed Warp on complex motion.
- Subscription pricing, and the free trial exports with a watermark.
Why it stands out: for short-form content where “good enough, fast” beats “perfect, slow,” Filmora’s presets get you there with the least friction of anything on this list.
7. CyberLink PowerDirector 365 – Best Cross-Platform Option (Desktop and Mobile)
PowerDirector 365 replaces the older generic “all-in-one motion tool” entries that used to circulate on lists like this one, and it earns the spot honestly – it is one of the few editors that ships a genuinely capable version on desktop (Windows and Mac) and a separate, actively maintained mobile app for Android and iOS, with AI-assisted tools including motion tracking and speed control shared across both. It runs on a subscription starting around $4.58/month billed annually, with the price fluctuating around seasonal promotions.
Key features
- AI motion tracking that can follow a subject through a retimed slow-motion sequence.
- Speed ramping tools on both the desktop and mobile apps, with project files that sync between them.
- Regularly cited as a Google Play Editors’ Choice pick, which is a reasonable signal of ongoing quality on the mobile side specifically.
Pros
- Genuinely usable on both a desktop workstation and a phone, with the same account.
- Frequent feature updates rather than a stagnant release cycle.
Cons
- Subscription-only, and the desktop version’s interface can feel cluttered compared to a focused tool like Filmora.
- Less suited to heavy compositing work than After Effects or Resolve.
Why it stands out: if your workflow genuinely spans a desktop edit bay and a phone for quick turnarounds, this is the one tool here built for both from the ground up.
8. Videoleap by Lightricks – Best Mobile-First Editor for Quick Slow-Motion Edits
An earlier version of this list recommended an app called MotionLeap for mobile slow motion. That app no longer appears in Lightricks’ current product lineup – it has effectively been folded into the company’s broader Videoleap and Photoleap apps. Videoleap is the one worth using today: a mobile-first video editor with speed controls, layering, and AI-assisted effects, built by the same team.
Key features
- Layer-based mobile editing, unusual for a phone app and closer to a simplified desktop NLE.
- Speed and time-remapping tools with keyframe support.
- Regular feature drops tied to Lightricks’ broader AI video push.
Pros
- Genuinely current and actively developed, unlike the app it effectively replaced.
- More creative control than most mobile editors thanks to the layer system.
Cons
- Mobile-only – no desktop version for heavier compositing work.
- Subscription required to unlock most of the useful effects.
Why it stands out: it is the accurate, currently-maintained successor to a tool that used to get recommended on lists like this one long after it had effectively disappeared.
9. KineMaster – Best Free Option for Manual Speed Control
KineMaster is worth including with an honest caveat: its speed tool is manual playback-speed adjustment (dialing footage anywhere from 1/8x to 16x, plus reverse playback), not true AI frame synthesis. On footage shot at a high enough native frame rate, that manual slowdown looks perfectly smooth. On footage shot at a standard 24-30fps, slowing it down manually without frame interpolation will look choppy, because no new frames are being generated to fill the gaps.
Key features
- Multi-layer timeline editing on both Android and iOS.
- Speed dial from 1/8x to 16x with reverse playback support.
- Free to use, with a premium subscription that removes the watermark and unlocks extra assets.
Pros
- No cost to get started, and the interface is friendly for editors new to mobile workflows.
- Fine for high-frame-rate source footage that does not need synthesized in-between frames.
Cons
- Not AI frame interpolation – slowing down standard-frame-rate footage will look stuttery without pairing it with a proper interpolation pass in another tool first.
- Free tier exports carry a watermark.
Why it stands out: it is the cheapest way to get started, as long as you are honest with yourself about when manual speed control is enough and when it isn’t.
Also read: 10 Best Software for Motion Graphics
10. GoPro’s In-Camera and Quik Stabilization – What Replaced ReelSteady
ReelSteady used to show up on lists exactly like this one as a slow-motion and stabilization tool for drone and action-camera footage. That recommendation is out of date. GoPro acquired ReelSteady in 2020, and the standalone ReelSteady app is no longer sold or supported as an independent product – its stabilization technology was absorbed into GoPro’s own camera-level HyperSmooth Pro processing and the Quik editing app, which now handles stabilization and speed control natively on GoPro footage without needing a separate purchase.
Key features (current GoPro stack)
- HyperSmooth Pro stabilization applied in-camera at the point of capture.
- Speed ramping and slow motion built into the free Quik app on desktop and mobile.
- No separate license or purchase required if you are shooting on a recent GoPro camera.
Pros
- Free, and tightly integrated with GoPro hardware – no export/import round trip needed.
- Stabilization happens at capture, which reduces the retiming artifacts you’d otherwise get from stabilizing shaky footage after the fact.
Cons
- Only useful if you are actually shooting on GoPro hardware; it is not a general-purpose plugin for footage from other cameras.
- Less retiming precision than a dedicated tool like Twixtor for non-action-camera motion graphics work.
Why it’s here instead of ReelSteady: recommending a discontinued standalone app wastes a reader’s time hunting for a download that no longer exists. If your footage is coming off a GoPro, the stabilization and slow-motion tools you actually want now ship free with the camera and the Quik app.
Picking the Right Tool for Your Project
For polished commercial motion graphics work that needs to hold up on a big screen, Twixtor Pro or DaVinci Resolve Studio’s Speed Warp are the two to start with – both handle extreme retiming with the least visible artifacting, and Resolve has the advantage of not being a subscription. If your team already lives inside Creative Cloud, After Effects’ built-in Pixel Motion covers most everyday needs before you spend anything extra on a plugin.
When the source footage itself is the weak link – underexposed, slightly soft, shot in a hurry – Topaz Video AI is worth the subscription because it is solving a different problem than pure retiming: it is reconstructing detail that a plain optical-flow tool can’t recover. And if you are working entirely on a phone with a fast turnaround, Videoleap and PowerDirector’s mobile app are the two genuinely current options; the old MotionLeap recommendation you might still see floating around other roundups points at a product that effectively no longer exists under that name.
One practical note that applies across every tool on this list: AI interpolation works best on footage you planned for slow motion when you shot it. A locked-off or slow-panning shot at 60fps will retime beautifully at 2-4x with almost any of these tools. A handheld shot full of fast, unpredictable motion will show artifacts no matter how good the software is. Shooting a few seconds extra at the highest native frame rate your camera supports, even if you don’t have a dedicated high-speed camera, still gives every one of these tools more real data to work with – and less that has to be invented.
Frequently Asked Questions
Do I need a powerful GPU to use these tools?
For anything beyond Final Cut Pro’s basic Optical Flow or KineMaster’s manual speed dial, yes. Twixtor, Topaz Video AI, and DaVinci Resolve’s Speed Warp all lean on GPU-accelerated processing, and 4K footage in particular will render noticeably faster with a recent, dedicated graphics card rather than integrated graphics.
Can I combine AI slow motion with color grading in one pass?
DaVinci Resolve Studio is the most direct route, since Speed Warp and the color page live in the same application and timeline. With After Effects or a Twixtor-plugin workflow, you’d typically retime first, then hand the clip to Premiere Pro or a dedicated grading pass.
Is free software good enough for client work?
It depends on the shot. DaVinci Resolve’s free tier and KineMaster’s free version can both produce usable results on footage that was shot at a high frame rate to begin with. For extreme retiming on standard-frame-rate footage, the paid, AI-model-based tools noticeably outperform the free options.
What if the footage has fast, chaotic motion, like crowds, water, or fire?
This is where every tool on this list struggles to some degree. Topaz Video AI’s newer models tend to hold up better than pure optical-flow tools on this kind of footage, but expect to do manual cleanup or masking on the worst frames regardless of which software you choose.
Related reading
10 Best Software for Video Color Grading